Someone has an event on Saturday and a bare wall behind the stage. They need a 2 by 1 meter banner, vinyl, with eyelets, and they need to know right now whether it is twenty dollars or two hundred, because they are ordering three other things today and yours is the tab they close first if it makes them wait.
That is signage. It gets bought in a hurry, against a deadline, by someone comparing two or three printers at once. The shop that shows a price and a buy button gets the job. The shop that says “email us your size for a quote” gets skipped, because the quote arrives tomorrow and the banner was wanted yesterday.
WooCommerce out of the box is firmly in the second camp. One product, one price, no box for a size, no way to turn a size into money. So most sign shops either run the whole thing through email, or list a handful of fixed “sizes” as separate products and lose the people whose size isn’t one of them.
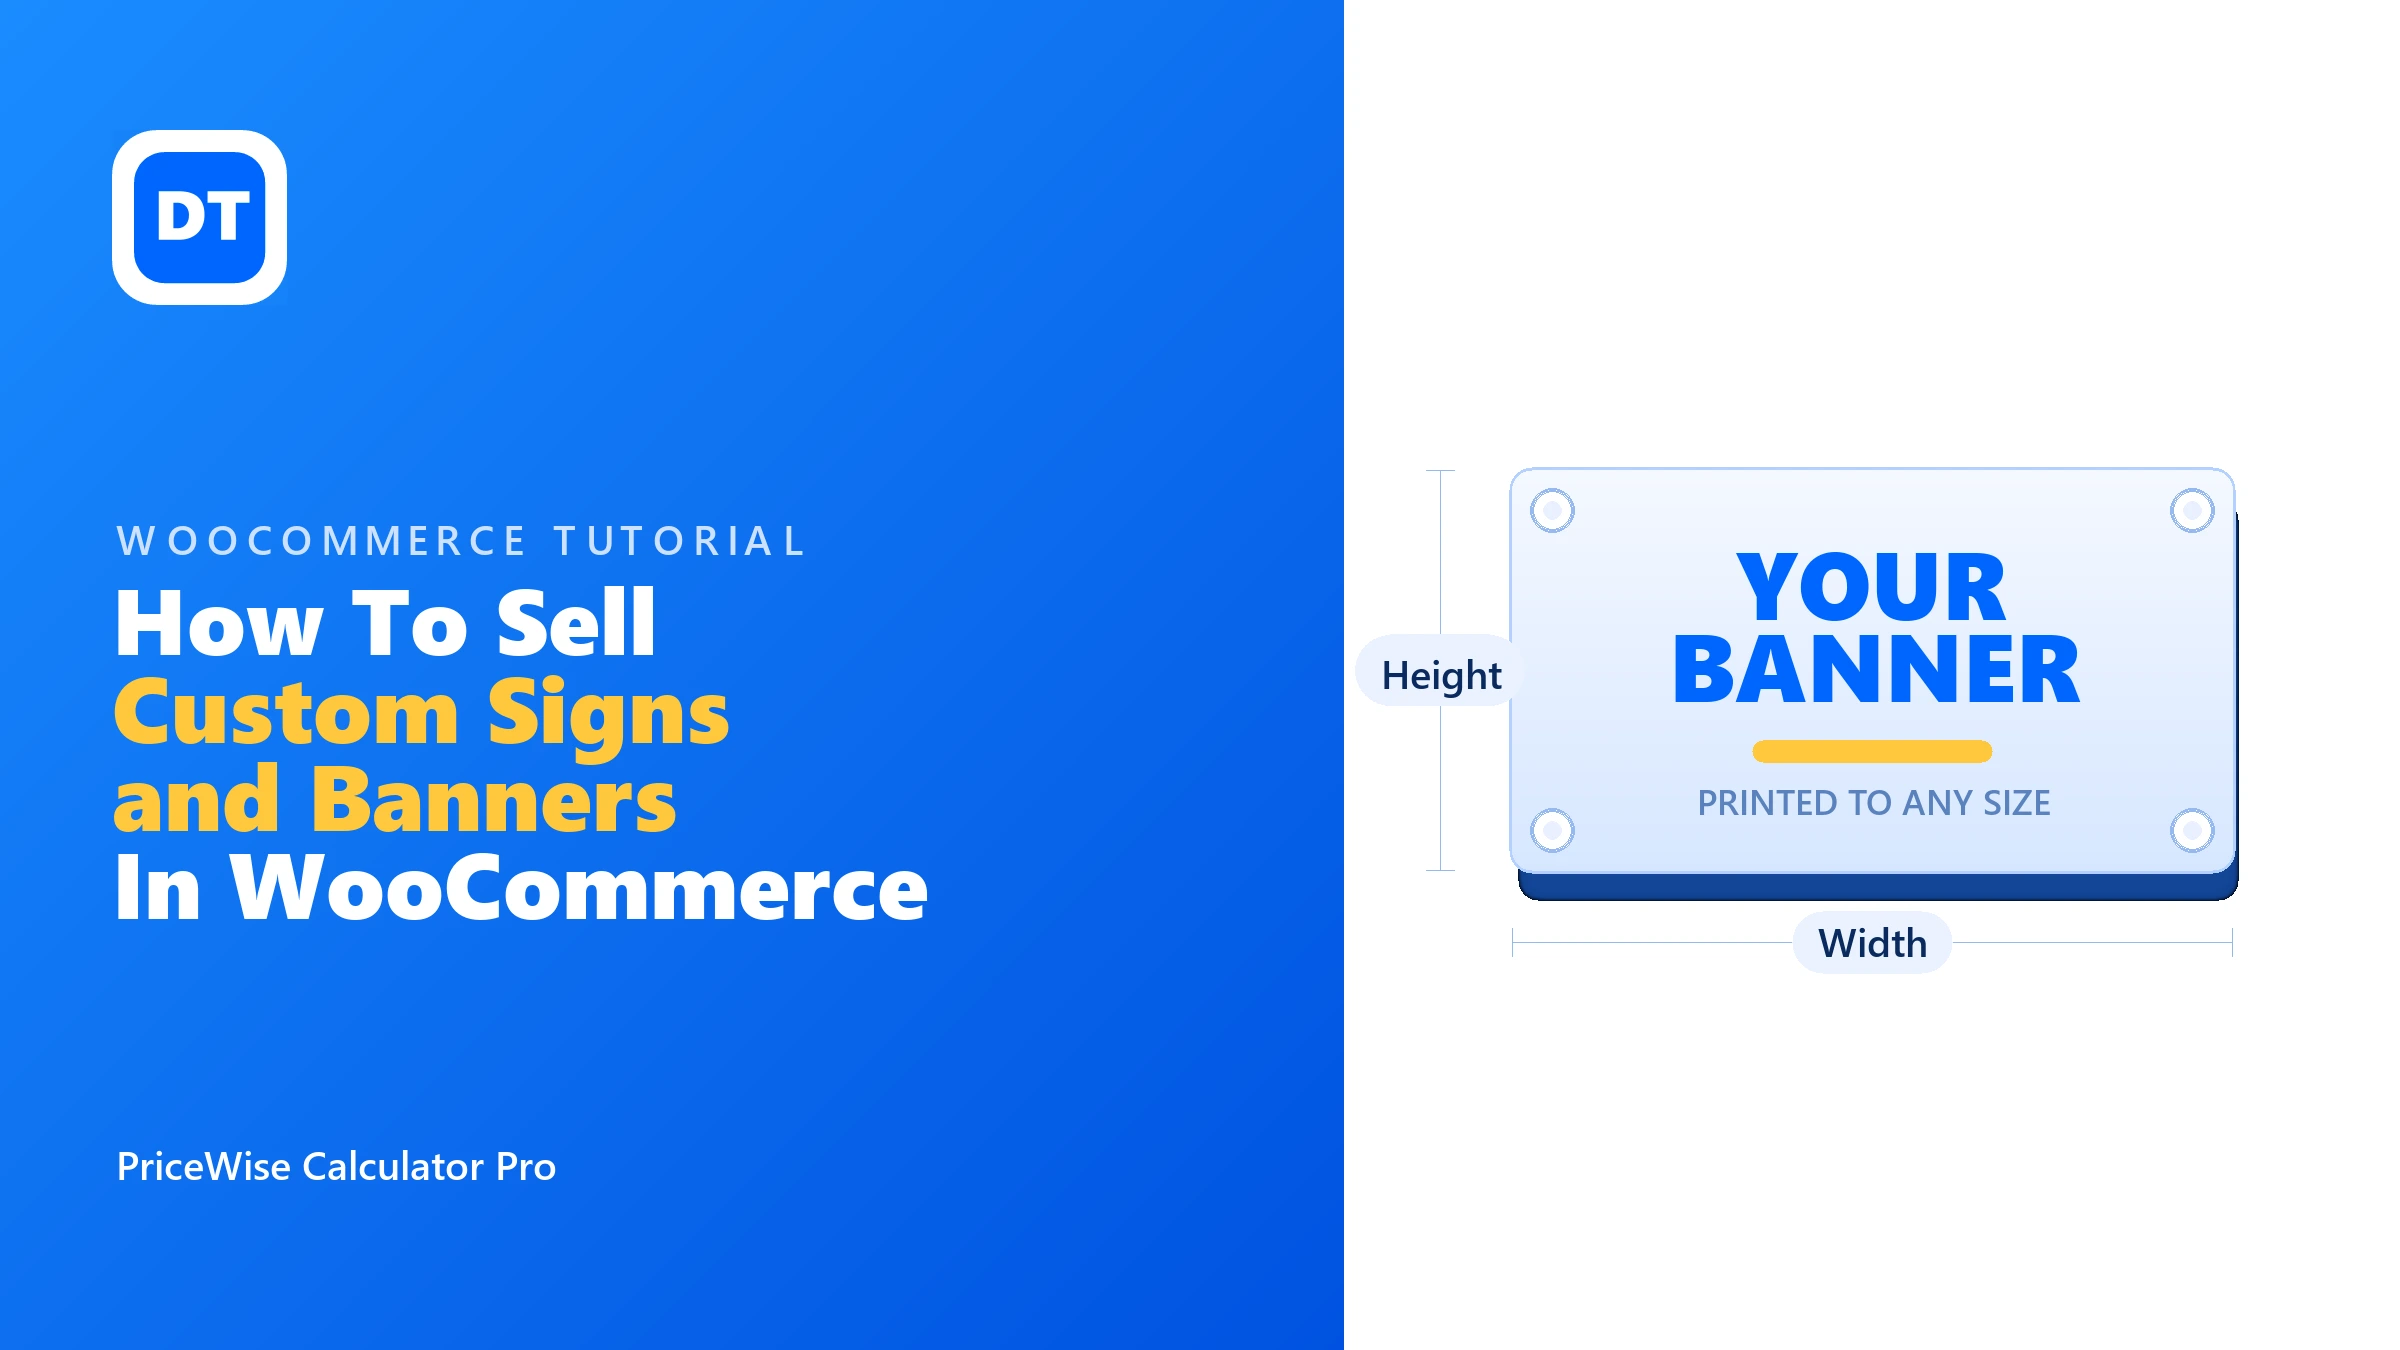
Here is how to sell custom signs and banners in WooCommerce properly, with a real price-it-yourself product on the page. I’ll use a vinyl banner.
What a sign actually costs
A sign price is mostly one sum with a couple of riders.
The main number is area times a material rate. Width by height gives you the square meters, and every material has its own price per square meter: a cheap vinyl banner is one rate, rigid PVC another, aluminium composite more again. So the material the customer picks decides the rate.
Then the finish. Eyelets for hanging a banner, lamination to protect it, maybe double-sided. Small additions on top.
That is the whole thing: area times the material rate, plus the finish. WooCommerce can’t work out the area on its own, never mind change the rate when someone switches material. That is the gap the calculator fills.
Building it
I make a plugin called PriceWise that does this job. There’s a one-click banner template on the Templates page if you want a head start, but I’ll build it by hand so the pieces are clear. Open Calculator Pro, add a calculator, name it “Signs and Banners”, point it at your signage category, and save it before you go on, because the fields stay locked until you do.
Two Number fields for the size: Width (cm) and Height (cm), unit in the label.
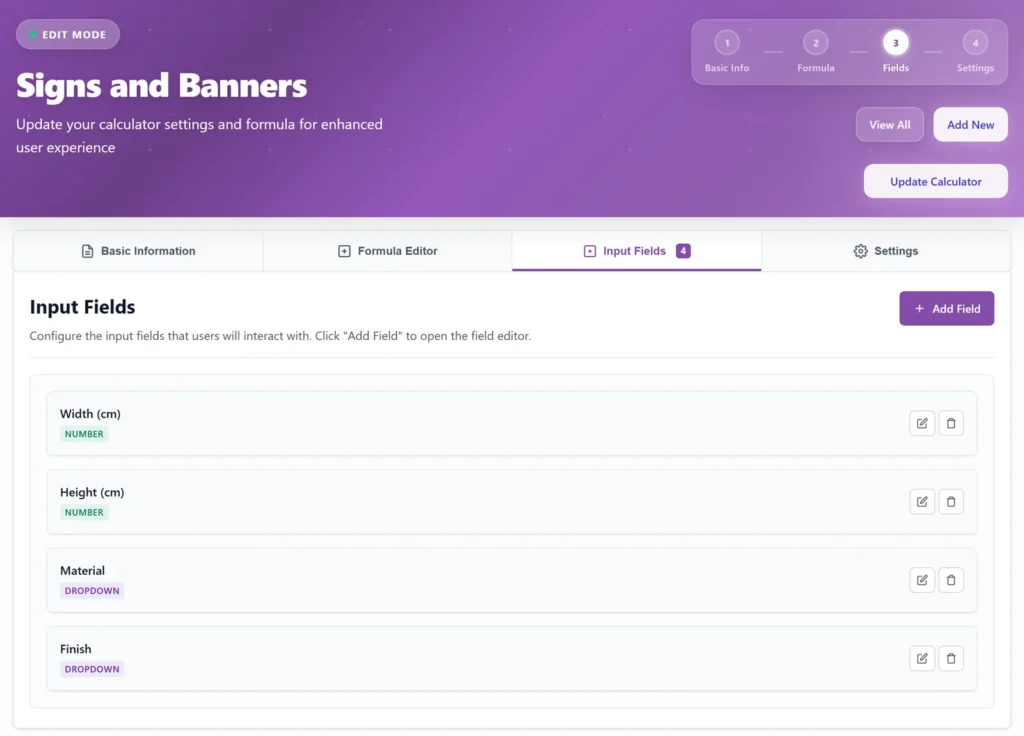
Then a dropdown for the material, where each option carries its own price per square meter. Write them as a label, a pipe, then the rate:
Vinyl banner|15
Foamex PVC|28
Aluminium composite|45
And a second dropdown for the finish, this time a flat amount:
None|0
Eyelets|5
Lamination|8
Now the formula:
width * height * material / 10000 + finishwidth * height is the area in square centimeters. The / 10000 turns that into square meters, since there are ten thousand of them in a square meter. Times material uses whatever rate they picked, and + finish adds the extra. PriceWise shows “Formula looks good” once the spelling all lines up.
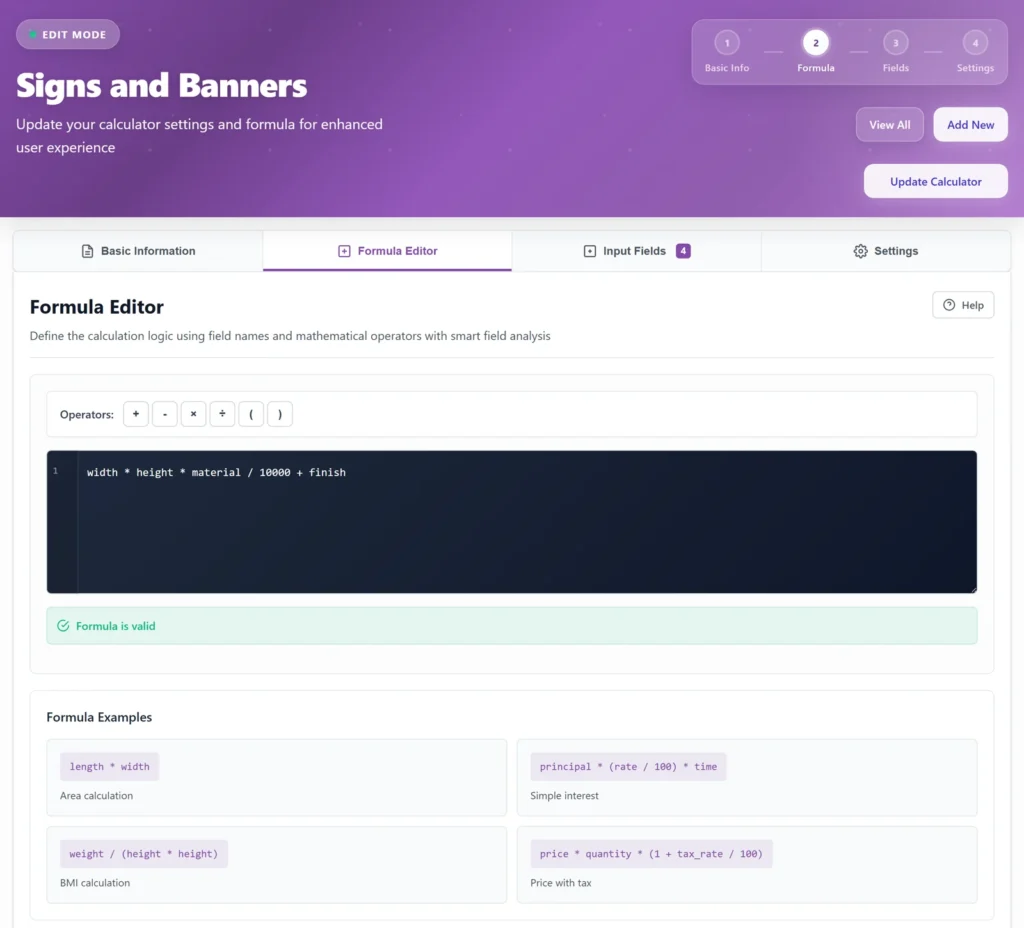
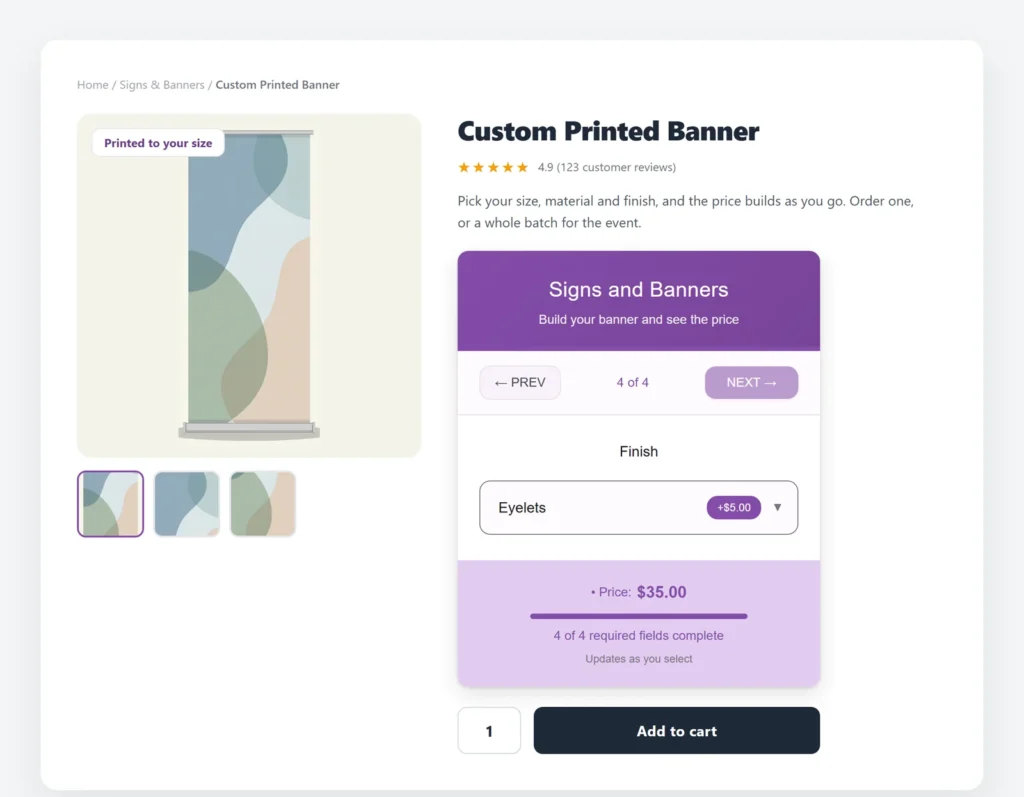
Try a real one. A 200 by 100 cm vinyl banner with eyelets. That is 20,000 square cm, which is 2 square meters, times 15 is $30, plus 5 for the eyelets, so $35. The number lands the instant they finish choosing.
Before you build, click the banner demo and price a sign the way your customer would.
Let them send the artwork with the order
Signage always needs a file: the logo, the poster, the print-ready PDF. Add a File upload field to the calculator and the customer attaches their artwork right there while they order. It’s saved and linked on the order, so your print team has the size, the material, the finish, and the file to print, all in one place. No “please reply with your artwork” email that holds the job up for a day.
The one place signage works differently
In the other made-to-size jobs I’ve written about, framing and cut to size, each order is a single one-off piece, so you switch the quantity box off. Signage is the exception, and it’s worth knowing.
People buy signage in multiples. Five identical banners for a tour, ten “Sale Now On” boards for the shop windows, a dozen table signs for a wedding. So here you leave the quantity selector on. The calculator works out the price for one sign, and WooCommerce multiplies it by however many they want. One banner is $35, they put 5 in the box, the cart reads $175. Nothing extra to set up. Just don’t switch quantity off this time round.
If you knock money off bigger runs, you don’t have to do it by hand. Add a quantity price breaks table, and the per-unit price steps down as the count rises: full price for one to four, a bit less each from five, less again from ten. The customer sees the better rate the moment they up the quantity.
What lands on the order
When they add it to the basket, the size and the choices go with it: 2000 by 1000, vinyl, eyelets, five of them, and the artwork file. It shows in the cart, and it saves on the order.
So your print team opens the order with the whole job in front of them, sizes and material and finish and quantity and the file, and nothing to email back and ask. That is the difference between taking an order and starting a conversation.
The bits worth knowing
A few honest edges before you go live.
A minimum order charge is a setting, not a workaround. Set your floor in the minimum charge box on the Settings tab, and any order below it is lifted to the minimum while bigger ones price as normal. If you charge for artwork or setup, there’s a setup fee box on the same tab that adds a one-off amount on top.
Keep your units straight. I used centimeters with rates to match; inches works the same way with inch rates.
Big banners and rigid boards are awkward to post. You can set the cart line’s weight and size from the banner’s dimensions in the calculator’s Settings, so weight or size-based WooCommerce shipping charges the right delivery for a made-to-order piece instead of a flat guess.
FAQ
Can I do this for free?
A basic banner price, yes, using size fields and a formula. The file upload for artwork, quantity price breaks, minimum charge and setup fee are in PriceWise Pro.
Can customers upload their artwork?
Yes. Add a file upload field and the customer attaches their print-ready file with the order, saved and linked for your print team.
Can I give a discount on bigger runs?
Yes. Add a quantity price breaks table and the per-unit price steps down as the count rises, shown live as they change the quantity.
Worth it?
Signage lives and dies on speed. The job goes to whoever lets the customer see a price and buy while the idea is still hot, not whoever replies first thing tomorrow. A size box, a material dropdown, a finish, an artwork upload, and a formula that adds it all up is the whole difference, and it runs itself once it is set.
Sign shops are the reason a few of these features exist at all. The artwork upload and the quantity breaks got built because sign makers kept asking me for them. PriceWise Calculator Pro covers the lot from $49 a year. Click a banner demo, or price by size with a formula in the free version and see how far that gets you. What I skated over here is in the documentation.
If you make other things to size, the same trick covers cut to size for raw sheets, custom picture framing when there is a frame around the edge, selling by the square meter for flooring and the like, and multiple options for any product where the choices set the price.