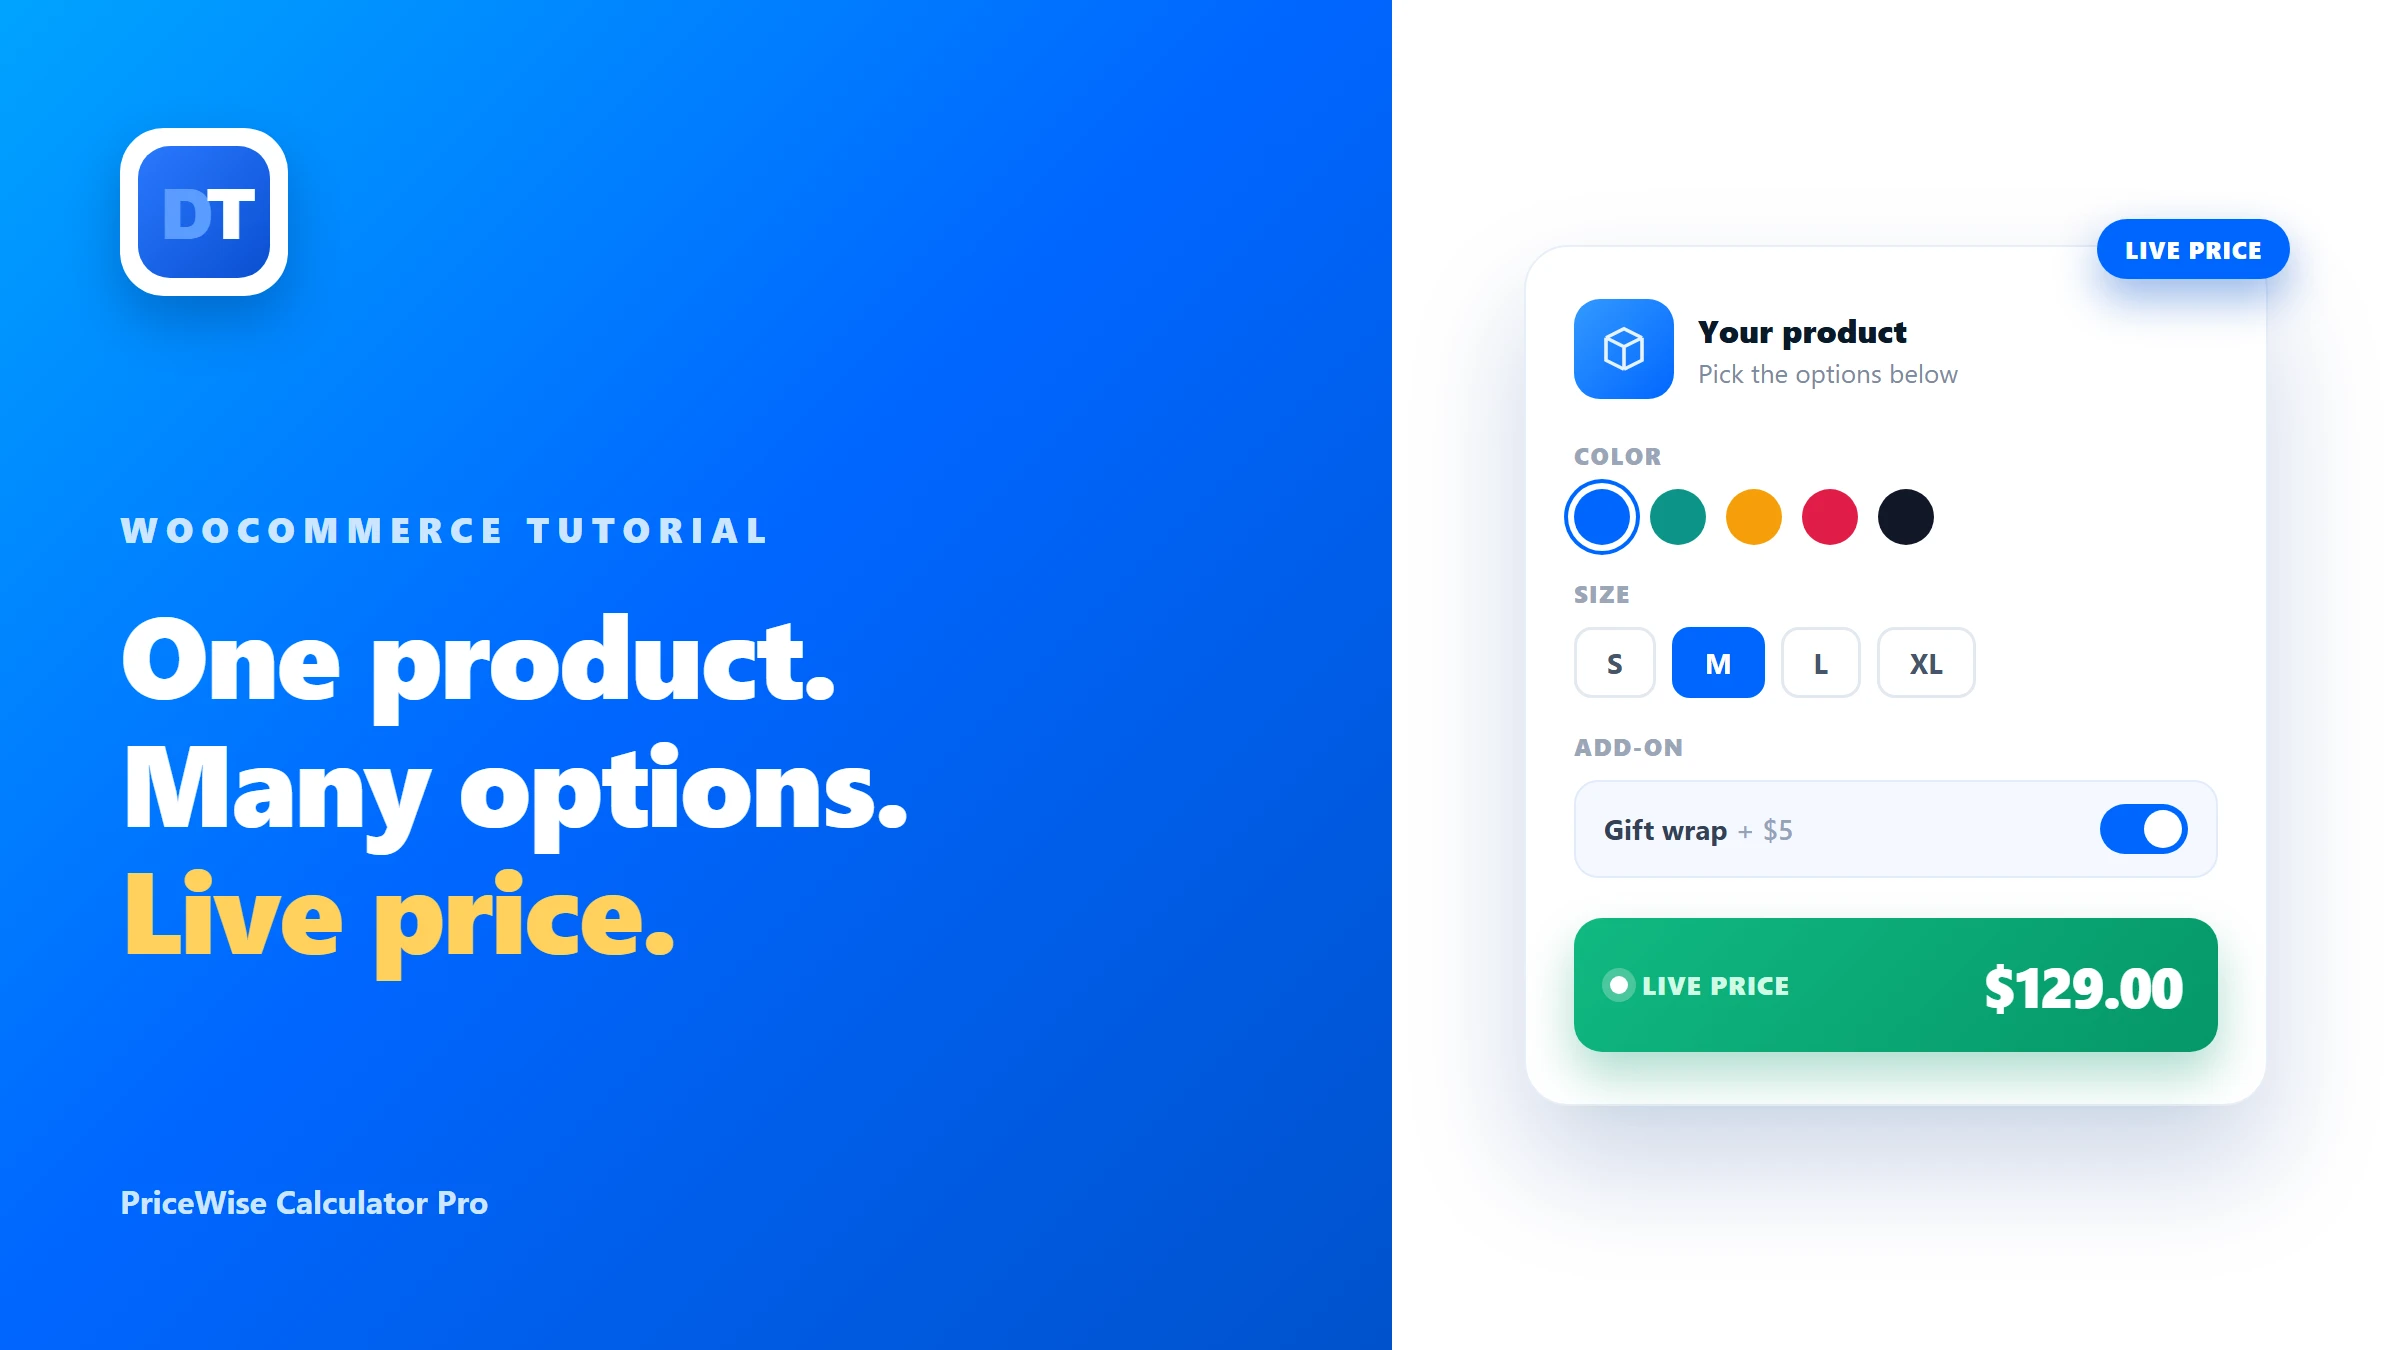
You sell one product. But buyers need choices.
Maybe it’s a t-shirt that comes in three sizes and four colors. Maybe it’s a desk where the wood type and the size change the price. Maybe it’s a printed banner priced by width and height. Or a gift box where each add-on costs a little more.
A plain WooCommerce product can’t do this. It has one price and no choices. So you’re stuck.
In this article, I’ll show you the three real ways to give one product multiple options in WooCommerce. I’ll be honest about each one. When it works, and when it doesn’t. And I’ll show you what to do when the options need to change the price as the buyer picks. That’s the part most guides skip.
Quick answer
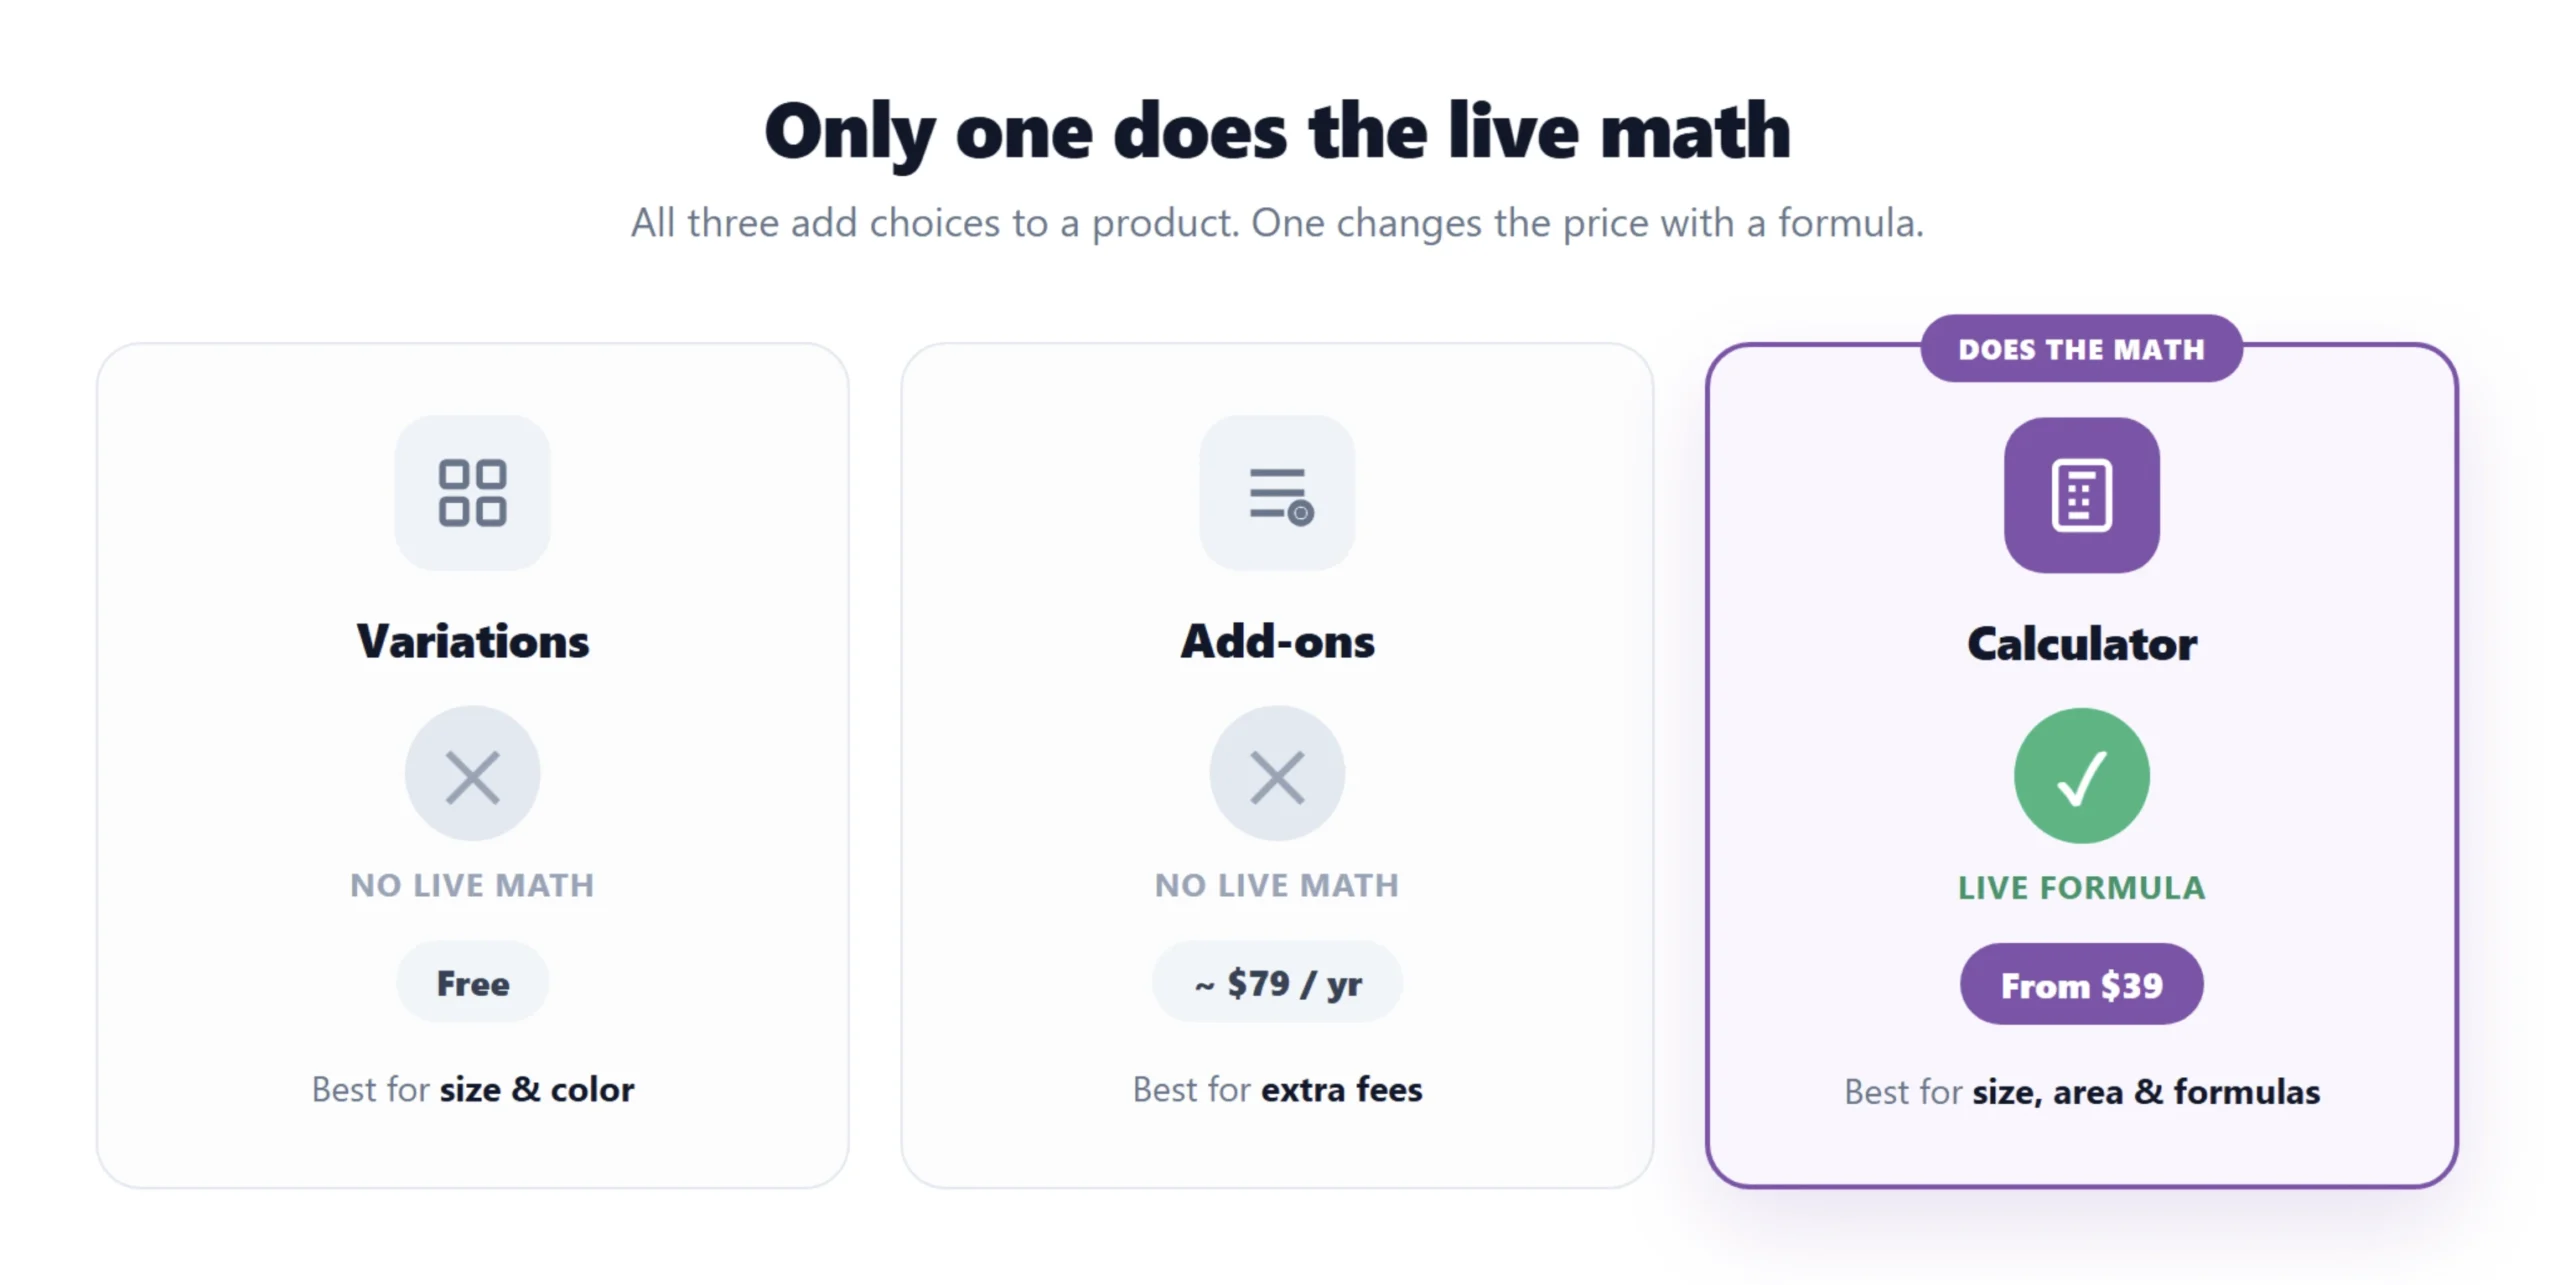
- Just need size and color? Use WooCommerce variations. Free, built in.
- Need extra fields or simple add-on fees? Use a product add-on plugin.
- Need the price to do math (by size, area, or a formula)? Use a price calculator.
Let’s go through each one.
Way 1: WooCommerce variations (free, already built in)
WooCommerce has this feature already. It’s called a variable product. You don’t need a plugin.
Here’s the short version of how to set it up:
- Open your product. In the Product data box, change the dropdown from “Simple product” to Variable product.
- Go to the Attributes tab. Add an attribute like “Size” with values Small, Medium, Large. Tick Used for variations. Save.
- Go to the Variations tab. Add a variation for each combination. Give each one its own price.
That’s it. Now the buyer picks “Large” and sees the Large price.
When this is all you need: simple choices with a fixed price each. Size. Color. A bundle of two or three options. If that’s your store, stop here. Variations are free and they work.
But variations have real limits. You should know them before you build.
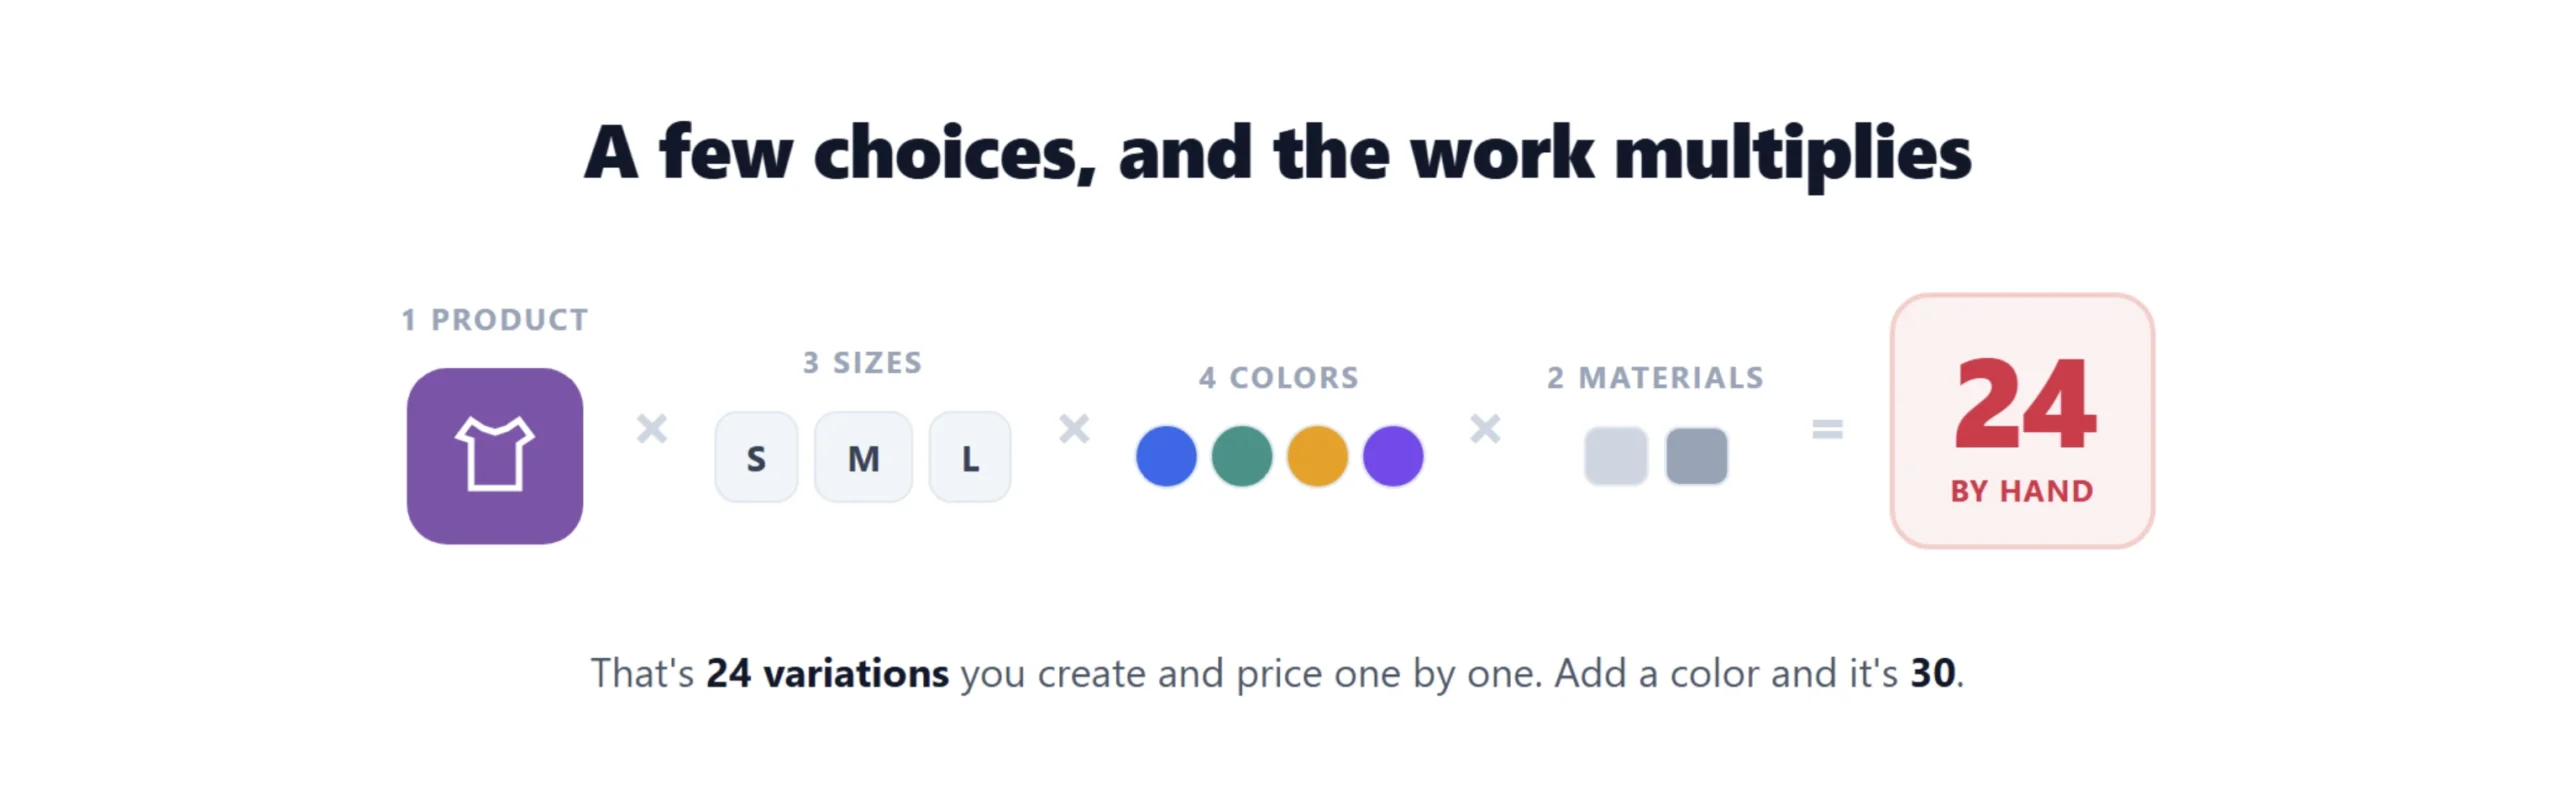
- The combinations blow up fast. Say you sell a shirt in 3 sizes, 4 colors, and 2 materials. That’s 3 x 4 x 2 = 24 variations. You have to create and price every single one by hand. Add one more color and you’re at 30.
- There’s no math. Variations can’t price by size. If you sell flooring at $40 per square meter, you can’t make a variation for every possible width and height. There are too many.
- No live formula. The price only changes when the buyer picks a combo you already made. It can’t do width x height x rate by itself.
So variations are great for small, fixed choices. They fall apart when you have lots of combinations, or when the price needs real math.
Note: Variations also need a “regular price” on each one, or they won’t show a price. This catches people all the time.
Way 2: Product add-on plugins
The next step up is a product add-on plugin. The official one is WooCommerce Product Add-Ons (around $79 a year). There are others.
These let you add extra fields to a product page. Things like:
- A checkbox for “Gift wrap (+$5)”
- A text box for “Name to engrave”
- A dropdown of upgrades, each one adding a fixed or percentage fee
This is good when you want extra inputs on top of the base price, and the extra cost is a simple fixed amount or a percentage.
Where they stop: most add-on plugins have no real formula engine. They can add $5, or add 10%. But they can’t do width x height x rate. If your price depends on math between two or three fields, an add-on plugin won’t get you there.
So add-ons are great for simple extras. They’re not built for measurement or formula pricing.
Way 3: A price calculator (when options must change the price by a formula)
This is the case most guides ignore.
Some products are priced by math, not by a fixed list:
- Flooring or tile, priced by area (length x width x rate)
- Fabric, priced by the meter or yard
- Curtains and blinds, priced by width x height
- Fencing or decking, priced by length
- Print jobs, priced by size x quantity
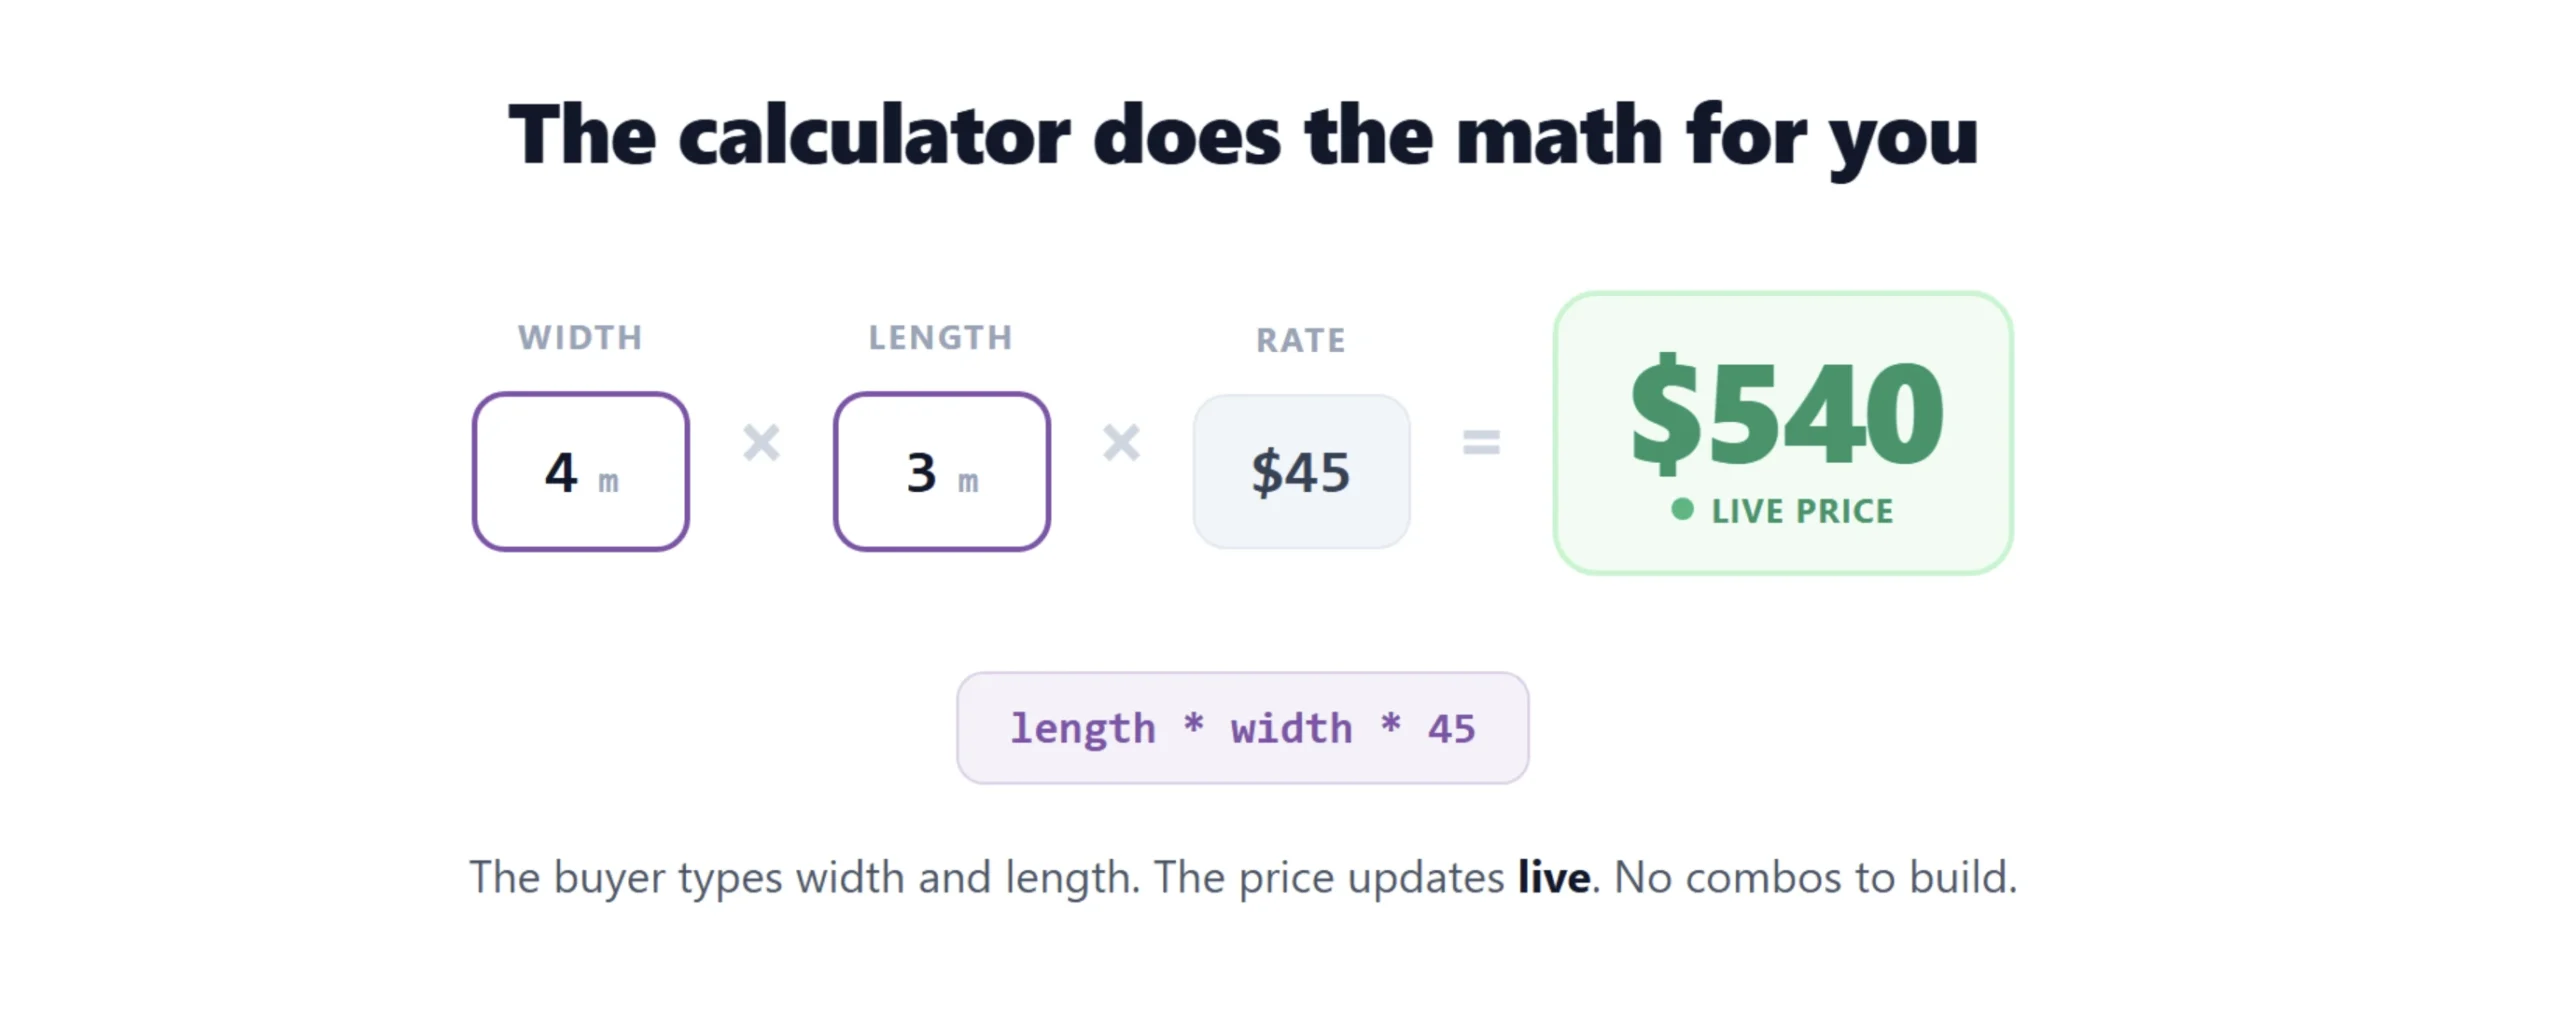
You can’t make a variation for every size. And an add-on plugin can’t multiply two fields. What you need is a price calculator. The buyer types in their numbers, and the price updates live using a formula you set.
This is exactly the problem I built PriceWise Calculator Pro to solve. So let me show you the whole thing with one real example: flooring sold by the square meter.
How to build it, step by step
Step 1: Open the calculator builder.
In your WordPress menu on the left, go to Calculator Pro and click Add New.
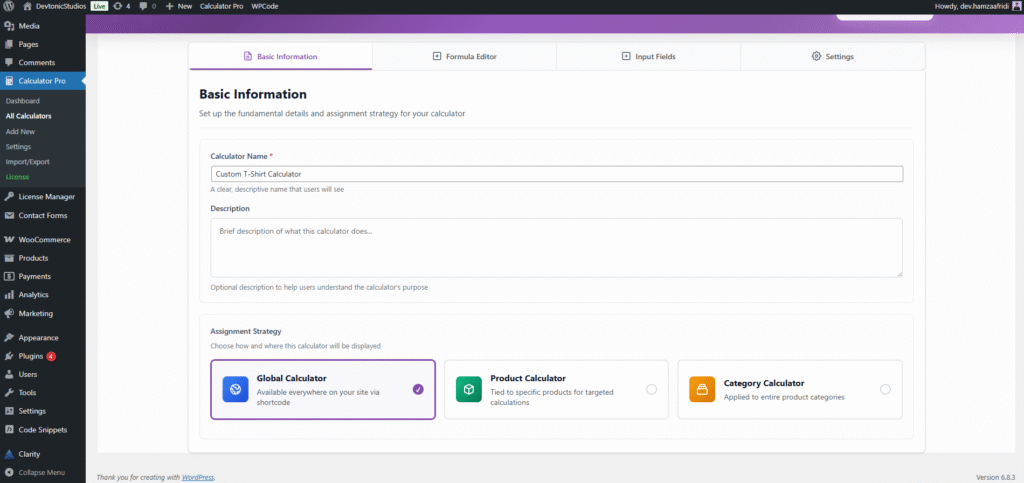
Step 2: Name it and choose where it shows.
You start on the Basic Information tab. Type a Calculator Name (like “Flooring price”). Then pick an Assignment Strategy. You get three choices:
- Global Calculator shows on every product.
- Product Calculator shows only on the products you pick.
- Category Calculator shows on every product in a category.
For flooring, choose Category Calculator and pick your “Flooring” category.
Step 3: Save it first.
Click Save Calculator. You have to do this before you can add any fields. PriceWise even tells you: “Save the calculator in the Basic Information tab to start adding input fields.” This catches people, so do it now.
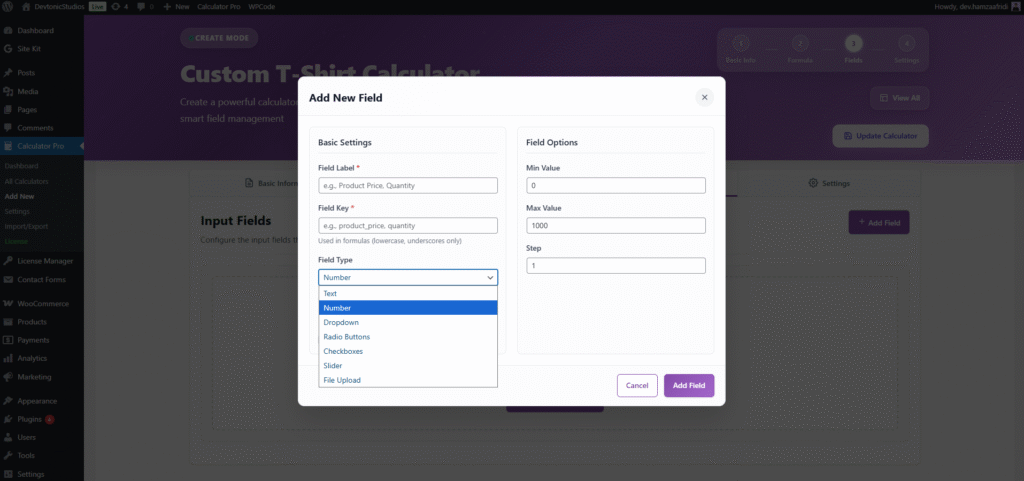
Step 4: Add your input fields.
Go to the Fields tab and click Add Field. For flooring, add two number fields:
- Field 1: Field Label “Width (m)”, Field Key
width, Field Type Number. - Field 2: Field Label “Length (m)”, Field Key
length, Field Type Number.
One rule for the Field Key: lowercase and underscores only (the plugin says so right under the box). You use these keys in your formula, so keep them simple, like width and length.
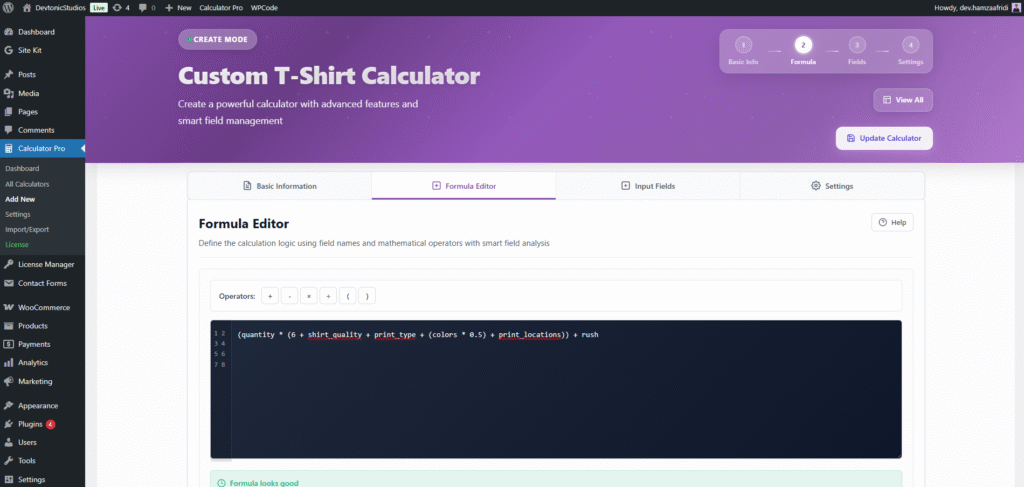
Step 5: Write the formula.
Go to the Formula tab. Say your floor costs $45 per square meter. Your formula is:
length * width * 45Use the exact field keys from your Fields tab. The plugin checks it and shows “Formula is valid” when it’s right. There’s also a “Formula Examples” helper built in if you get stuck.
Two honest details:
- If you leave the formula empty, PriceWise just adds up your fields. Handy for simple “pick options, add the prices” setups.
- It only allows basic math (
+ - * / ( )). No code runs on your site, so it’s safe.
Want different prices for different materials? Add a dropdown field, put the rate as each option’s value, and use that field’s key in the formula instead of 45.
Step 6: Choose where it appears, then save.
On the Settings tab you pick where the calculator shows on the product page: Before Product Summary, After Product Summary, or In Product Tabs. Pick one, then click Save Calculator again.

Step 7: Check it on the product.
Open a product in your Flooring category. Make sure it has a regular price set. You’ll see the calculator. The buyer types their width and length, and the price updates live as they go. Then they add it to the cart at that price.

That’s the whole flow. This article shows one example. For the full detail on every field type and setting, see the PriceWise documentation.
Warning: The calculator won’t show on your product page unless two things are true:
- The calculator has at least one field added in the Fields tab.
- The WooCommerce product has a regular price set.
If it’s not showing, check those two first. It’s almost always one of them.
How to pick the right one
Keep it simple:
- Size and color, fixed prices? Use WooCommerce variations. Don’t pay for anything.
- Want extra fields or simple add-on fees? Use a product add-on plugin.
- Price needs real math (by size, area, length, or a formula)? Use a price calculator like PriceWise.
There’s no shame in the free route. If variations cover you, use them. The calculator only earns its place when the math gets real.
FAQ
What’s the difference between variations and options?
Variations are fixed combinations you build by hand, each with its own price. “Options” is a looser word. It can mean variations, add-on fields, or calculator inputs. The right tool depends on whether your price needs math.
Do product options change the price in WooCommerce?
Variations change the price by picking a combo you made. Add-ons change it by a fixed or percentage fee. Only a calculator changes it by a live formula like width x height x rate.
Can I do this for free?
Yes, if you only need variations. They’re built into WooCommerce. Add-on plugins and calculators are paid because they do more.
Will a calculator slow down my site?
PriceWise does the math in the browser as the buyer types, and re-checks it on the server when they add to cart. It only loads on the products you assign it to.
Can I use this for made-to-measure products like curtains?
Yes. That’s a classic fit. Price by width x height, with the buyer entering their own measurements. I’ll cover that setup in a separate guide.
Before you build
Quick checklist:
- Write down your choices first. If they’re fixed (size, color), variations are probably enough.
- Count your combinations. If they go past 15 or 20, rethink.
- If your price is math (area, length, quantity tiers), use a calculator.
- Whatever you pick, set a regular price on the product so the price shows.
Pick the smallest tool that does the job. Start free if you can. Reach for a calculator when the math is the whole point.
If your options need live pricing, that’s what I built PriceWise Calculator Pro for. It does formulas, eight field types, and a step-by-step slider, from $39. The documentation walks through every field type if you want the detail.