After purchase you get a .zip file and a license key. Here is the full process from start to finish:
Install & Activate
In your WordPress admin go to Plugins, Add New, Upload Plugin. Choose the FilterKit Pro .zip file, click Install Now, then click Activate.
Enter Your License Key
Right after activation you will see a license activation screen. Paste the license key from your purchase email and click Activate. This unlocks the plugin and turns on automatic updates.

The license activation screen shows up right after you activate the plugin.
Setup Wizard Runs Automatically
Once the license is active, the setup wizard launches. It scans your store and works out the right filter setup for your products, so you do not have to configure anything manually.
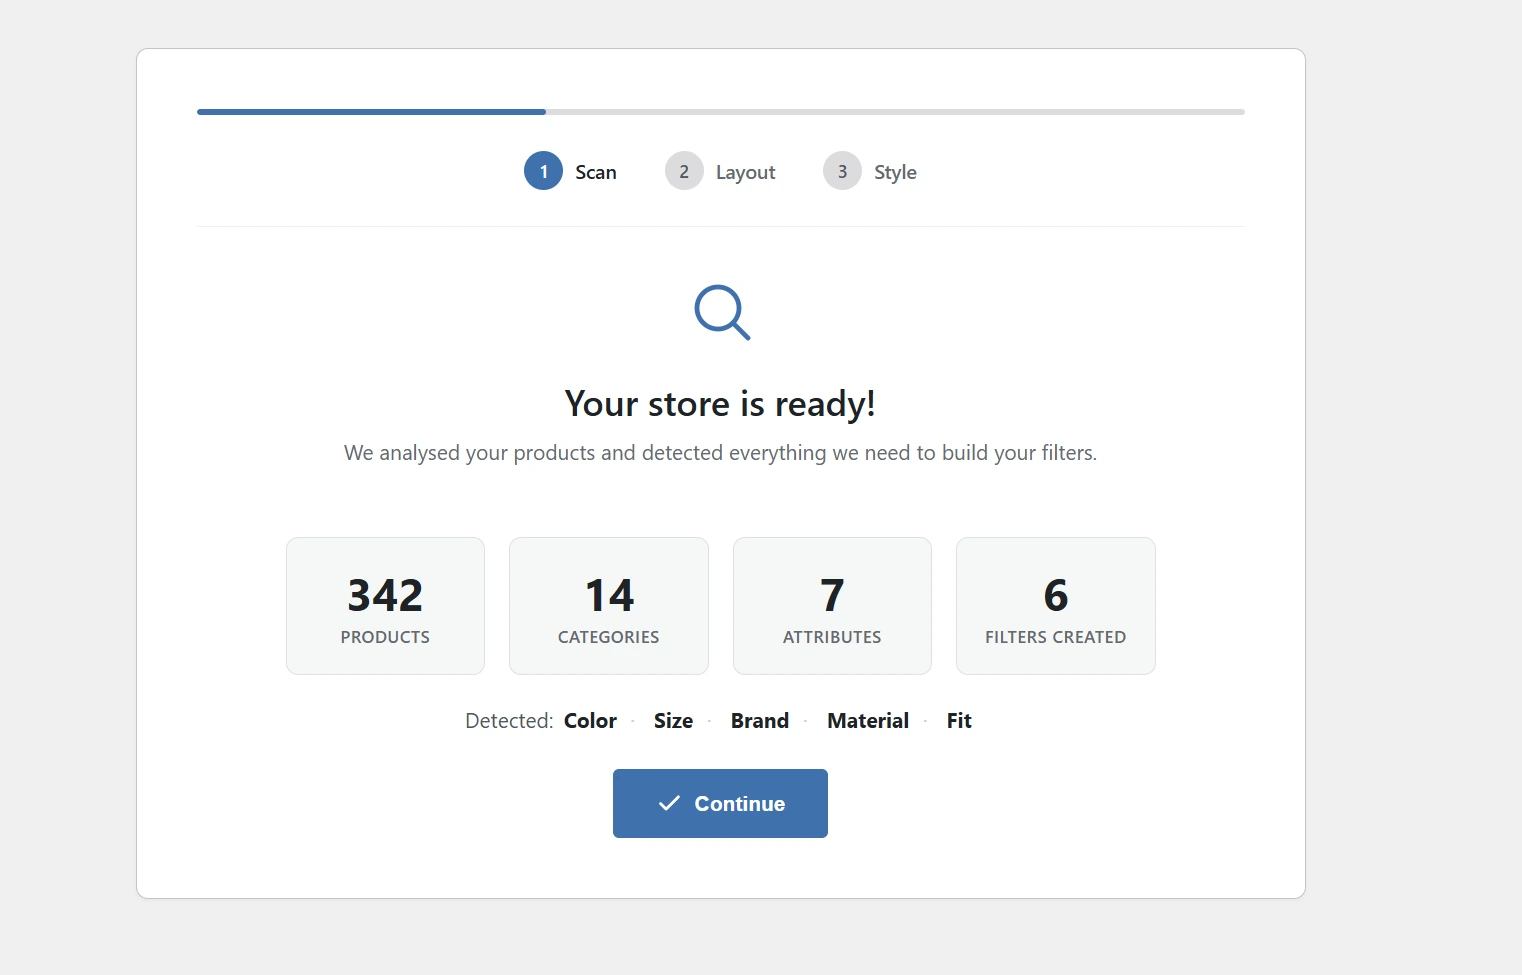
The wizard detects your product attributes, categories, price range, theme, and page builder.
- Your product attributes (Color, Size, Brand, Material, etc.) and their values
- Your product categories and subcategories, with product counts
- The cheapest and most expensive products (for the price slider)
- Which page builder you’re using (Elementor, Divi, Bricks, Breakdance, Beaver Builder, Oxygen, WPBakery, or the default WordPress editor)
- Your active theme. Compatibility settings are applied for Astra, Flatsome, WoodMart, Kadence, and 5 more popular themes.
- Whether your products have size or color variations (turns on variation-aware filtering if they do)
Review & Customize
The wizard picks a filter type for each attribute: color swatches for Color, checkboxes for Brand, a price slider for price, star ratings for reviews. You can drag to reorder, change any filter type, then hit Save.

Drag filters to reorder. Change filter types with one click. Hit Save when you are done.
You Are Live
Filters are on your shop page, the search bar works, and analytics have started collecting data. Visit your shop to see it in action. The whole thing usually takes under 5 minutes.
- WooCommerce, FilterKit Pro: Your dashboard. Manage filters, reorder them, change types, edit labels.
- WooCommerce, FilterKit Analytics: Your analytics dashboard with 7 tabs of customer data.
- WooCommerce , Settings , FilterKit Pro: All your settings: General, SEO & URLs, Features, Comparison, Advanced, and License.
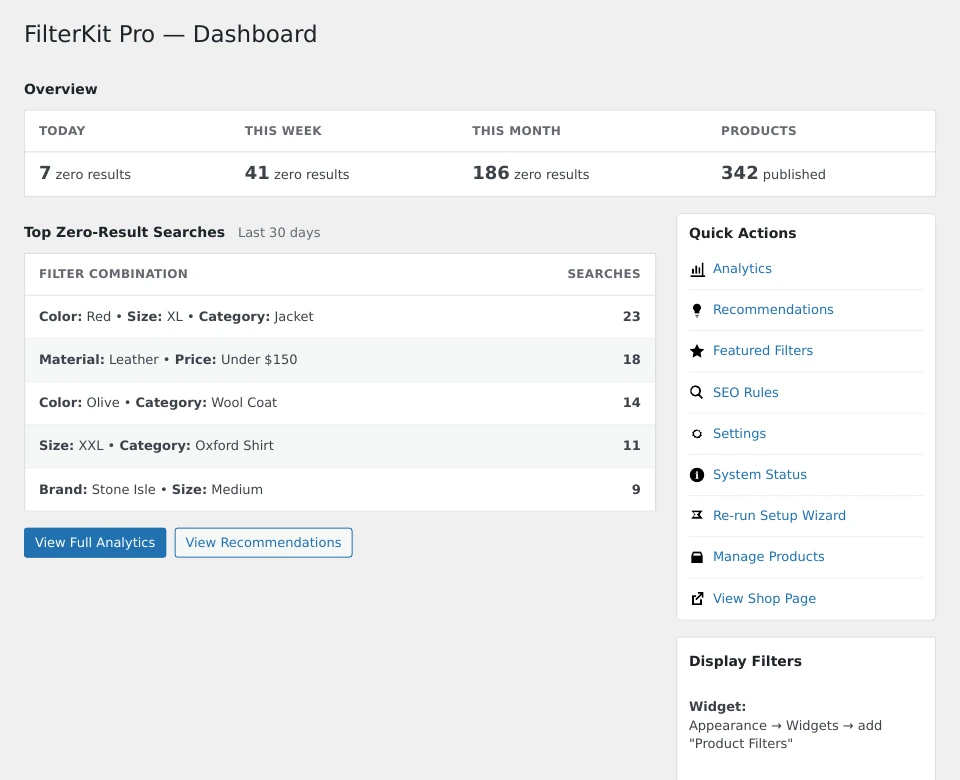
The FilterKit Pro dashboard is where you manage everything.